Pretty In Bronze

Saturday, October 15, 2016

Erin Condren 2017 Vertical Life Planner!
October 15, 20160 Comments
As some of you may know, I'm a planner girl. I rely on my Erin Condren planner to keep my life organized and not forget appointments, assignments, events, etc. Last week I saw that Erin Condren was having a 20% off sale so I decided to take the plunge and buy my 2017 planner. It ended up costing me about $80 Canadian, but I did have to pay $20 in duty (I hate duty), which is ok because it was still cheaper than my 2016 planner without that discount.

Here are a few pictures of my new planner. I went for the free cover option and went with the regular silver coils as it was the cheapest option available (I really only care about the planner itself). I also went for the colourful planner (there's now a neutral option!) because I tend to do more colour coordinated spreads instead of themed.


I chose this simple pink cover and was pleasantly surprised that the inside cover has lines to write with a dry erase / wet erase marker.


The non monthly or weekly pages are pretty similar with a few design changes. I won't show all of the pages because there are probably hundreds of other blog posts on this planner, but I will show a few.


Now the important part. The colours for the months have changed—some slightly and some drastically. I don't know if I like it yet or not, but it is going to force me to make quite a few changes to my stickers up on my etsy shop. While change is nice, it's a hassle and I do feel like a lot of people who make or use stickers will be upset at this, especially if they have a lot of colour coordinated stickers left over.


Besides the colour change, there are minor changes on the monthly layouts. The header is a bit taller, which once again will force several people to change their stickers (not me since I have yet to make this particular type of sticker) and the side bar looks a bit different, but nothing crazy.


Now onto the weekly spreads. The biggest change besides the colours being different is that there is no secondary colour. I actually really like this as it will make the sticker process easier and more customizable for me. The header now has a watercolour effect, which I love because mine always looked so bland when nothing was there. This header effect is also really cool because when months change, the colours transition instead of changing harshly.


Here is the colour fade at the header of the weekly layouts.


The stickers at the back of the planner are similar, but the colours are different again.  The biggest change is that now several stickers are cut out in a flag style instead of the regular rectangular shape (but those are included as well).


There is still a perpetual calendar included, but I won't be using it unless I lose my 2016 one considering all of the important dates won't change. This one does look a lot cuter as well as the little pouches.


The pouch is now removable! This is a huge feature for me because it always made my 2016 planner SO heavy! On a day to day when I'm using it at school, the pouch does not matter to me as I'm not putting down stickers. I only really do this at home, where the pouch is needed. Thankfully, inside of the pouch there is a 3m coil clip so I can still stick the pouch in my planner securely, but I can just as easily take it out. I also love that there's a little zipper slider thing (no idea what it's called) instead of requiring us to pry the pouch open manually (which caused mine to rip at one of the sides).


Now for the little extras. Just like last year, I received a few stickers, but this time instead of little event dots I got those plus a few really cool stickers (that make me sad that I didn't order a full sticker book... but as Kathleen Lights would say "das expensive." Other freebies include a big sticker, a few compliment cards and two 20% off coupon codes that I can share. I won't be sharing those in this post, but fear not! I have an affiliate link that will save you 10% off your first order with Erin Condren and it's right here:  https://www.erincondren.com/referral/invite/amysousa1012


Overall I'm really excited! I knew I wanted to completely redesign my colour-coordinated monthly spreads so I welcome the new colours (but hopefully I can find the colour codes somewhere really soon).  I definitely recommend this planner if you're like me and need to write absolutely everything down to remember it! It's also a really fun hobby, though it can get very pricy.

Please feel free to ask any questions and I will try my very best to answer them :)

See you soon!

Amy

Saturday, October 01, 2016

2 Year Anniversary Makeup Look (Minus Lipstick)
October 01, 20160 Comments
I have been awful at posting videos recently, but I promise I have a few in the works! I was supposed to post this last week, but life has been so hectic lately with school, writing, and life in general. I did take time to celebrate Steven and I's two year anniversary. We were so busy on the day of (the 24th) that I didn't have the time to set up my filming equipment before I did my makeup. Hopefully this post is enough to show what I did. I will try my best to explain what I used, but a few of the products are unknown due to the brand names rubbing off of the packaging.


For foundation, I used my Makeup Forever Ultra HD foundation in the colour 117, It has a yellow undertone, but is still a bit too light for me with my leftover summer tan. I mixed in my Lancome Teint something (old packaging) foundation in the colour "Bisque," which is way too dark for me.  

To set my face, I used the RCMA No Color Powder. I baked my under-eye area for about two minutes along with the centre of my forehead (where my two creases are) and my chin. I then used the Kat Von D Shade + Light Palette (the yellow colour (Lyric?)) to wipe off the bakage under my eyes, and then I used the lightest shade to wipe off the rest of the no colour powder.

For bronzer, I used my Too Faced Sweet Heart Bronzer in the shade "Sweet Tea" all over my face (including the sides of my nose) since I do have a warmer undertone. Using really cool powders makes my face look kind of grey, but I try to stick closer to the neutral side, which is why I love this bronzer. It's definitely not warm or cool, but perfect for me.


For blush I used my favourite: "Luminoso" by Milani. I used my Mary Lou-Manizer highlighter, which is also my favourite, to highlight the tops of my cheeks and the tip of my nose. I always highlight my nose because it looks really dry if I don't. It ends up rubbing off fairly quickly because I always touch my nose, but I do think it looks cute while it lasts.

Now for my eyes. I used all makeup geek eyeshadows (because I know I can rely on them). For my crease and lower lash line I used "Hipster," for my brow bone and inner corner I used "Shimma Shimma," and last but not least, I used "Flame Thrower," a foiled eyeshadow, for the lid. 

I used a pair of eyelashes that came in a pack of 5 off of eBay. I hope I can find what they are again because they're honestly really nice quality for the price, and they're the easiest lashes I've ever used. For eyeliner I used a black one from a brand that I don't now because it's about two centimetres long at this point so the name has been sharpened off. There's a chance that it's by Lancome, but all I know is that it's a high end one. For my wing I used my Kat Von D Tattoo Liner in Trooper because it's amazing and easy to use. I really didn't want to try something knew because I suck at it.

For lipstick I wore "Cosmo" by MAC, but it had worn off by the time that I took these pictures (When we got back home). Last but not least, for my eyebrows I used my Anastasia Dip Brow Pomade in "Blonde" and my Essence brow pencil in "Brown." I set my brows with the Benefit Gimme Brow Gel in the darker colour (it says 3 on the packaging).


If you like this look, let me know and I'll do it again, but I'll film it to make everything easier to understand. I have a few exciting posts coming soon! I'll give you an idea on what to expect for the next month:

  • A brand focused post
  • Halloween
  • Skin care reviews
  • TAG videos
Let me know about the look!

Amy


Wednesday, August 10, 2016

Makeup Forever Canada Artist Rouge Lipsticks Launch Party
August 10, 20160 Comments
Hello all! Well, hello to my one follower *waves frantically*. I haven't written in a very long time and my only excuse is "life".  I shall explain a few things at the bottom of this post after the interesting stuff.

Where do I even start. Ah, yes. Makeup Forever Canada sent me an email invitation to their Artist Rouge launch party in Toronto. Needless to say I was very very excited because MUFE is a brand I love (specifically their foundations) and this is the first time I've ever been invited to anything by a brand. Fast forward to last Thursday, the night of the party. I brought along one of my oldest and dearest friends Gabi (short for Gabriella) and walked to the party from my work.

The Event


The event was amazing! We walked on a red carpet to the guard who checked our ID's (It was a 19+ event because of the open bar).

Here's a picture of me standing at the red carpet (minus paparazzi because they don't care)

Upon our arrival, we registered and were offered champagne, which I gladly accepted. Music was pumping the entire night (well, the two hours that was the event.)

We ate cheese and crackers and checked out the open bar before we lined up for our free lipstick applications.


Gabby chose black because she's never worn a black lipstick before, while I went for a bright blue (which totally clashed with my outfit by the way) because I'm weird and thought "I only have one chance to have a colour applied by a makeup artist for free at an event full of makeup lovers—bright it is!" In reality I love blue and don't care about getting weird looks on the street (we got stared at A LOT.)

Also, the backgrounds contained hashtags for us to use on the internet such as:

#myartistrouge and #getyourboldon

Gabbi and I took this cute picture (we only got
one so I kept the physical because I don't have enough printed pictures and only thought it was fair because I got invited to the event and I'm selfish).


We got freebies upon leaving the event (which they didn't mention so we were STOKED). MUFE gave us each two of the lipsticks, which retail at $27 CAD each! And to top it off I got a limited edition colour... BLUE, but a deeper satin finish blue that I'm excited to use. I also received a medium purple colour.  When I do go back to filming again I'll make sure to do a look that works with both colours so I can actually show you them! I did vlog the event, so if you want to skip to 13:20 on the video below you can watch my journey!


Over the past few months I've moved back to Toronto for my summer co-op with a company that I've loved for many years. Because of this, my blog posts have stopped abruptly and my filming has slowed down.  I also have a full summer course that I have not started and only have three weeks to complete (talk about procrastination).

Because of this I will not be posting another video until the beginning or middle of September. I explain more in the video above!

I will try to post instagram pictures of my makeup every once in awhile and perhaps I will review the lipsticks through a blog post and photos if I get the time within the next week... or few weeks... or never. We'll just have to see how I manage work and school for these last few weeks of summer!

I hope to be back soon! In the slight chance that you are reading this, please leave a comment asking me anything about the event, requests, or anything else!

Bye for now

Amy

Tuesday, April 12, 2016

Collaboration videos ~ Collabs I've done recently!
April 12, 20160 Comments
Hello! It's been a while. I just finished classes this past thursday and I handed in my last assignment (on time) on Sunday so all I have left is exams. I will be starting a job in the big city for the summer so I probably won't have as much time to do frequent videos and blog posts, but I'm going to try my best.
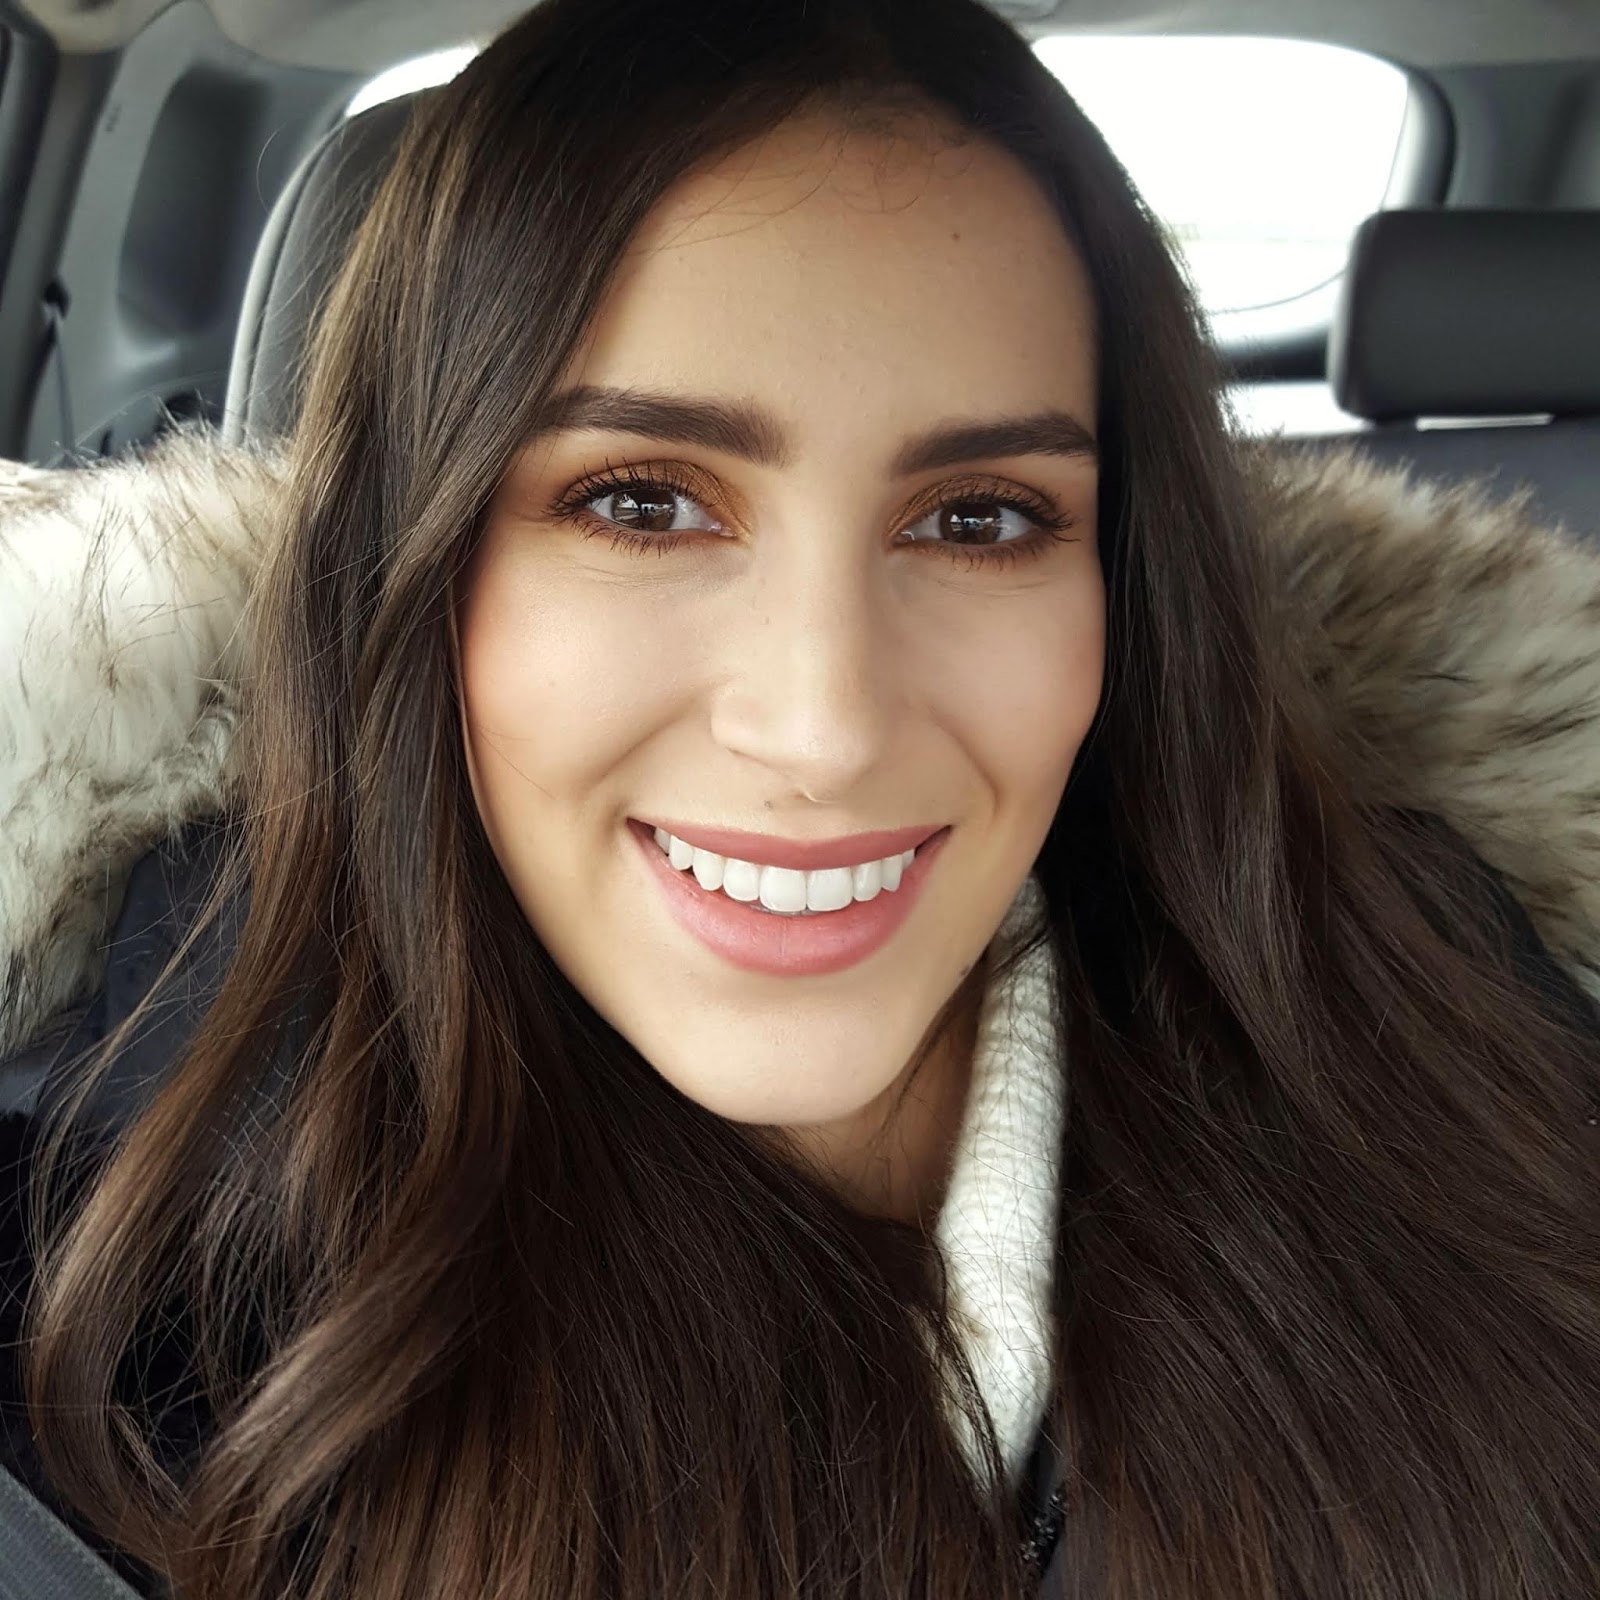
Recently in the past couple of months I have done a few collaboration videos, which is new for me. I have only done one in the past (about a year ago), but I've done three so far in 2016!

Here are the three videos that I have done in collaboration with other youtubers recently!


This first one (as you can tell by the title) is a collaboration video that I've done with a few other Canadian ladies on youtube. We did a mug swap and had no idea who was sending a mug to us so it was pretty much a first impressions video as well!


The second video is a current (random and beauty) favourites video because I don't do monthly favourites (too poor for that). Jasmine is also Canadian and we met on twitter because we will both be at generation beauty so we decided to talk about things that we've loved recently including makeup, tv shows, food, etc.


This last video is also my most recent video and I did it in collaboration with my friend Jennifer who lives in New Zealand! Definitely tricky because our time zones are so different. I uploaded mine the night before she uploaded hers so all of our viewers would be able too watch both videos without them being in the middle of the night for anyone. We decided to do a fall/winter tutorial/look because it's Autumn in New Zealand and in Canada it's still cold as f*** so this worked out well haha.


Monday, March 07, 2016

My First Subscriber Question and Answer Video!
March 07, 20160 Comments
Hello! I've once again slacked on making blog posts. For the first time ever (for youtube) I did a Q and A video where my subscribers and followers asked me whatever they wanted and I answered. I did one years ago, but it was strictly questions from my readers on Wattpad, which was based on my books. This Q and A was based on me (sounds a bit narcissistic I know). The video is below!

@beautybyamysousa